Last Updated on May 2, 2022 by Sabrina Currie
Why grow them yourself
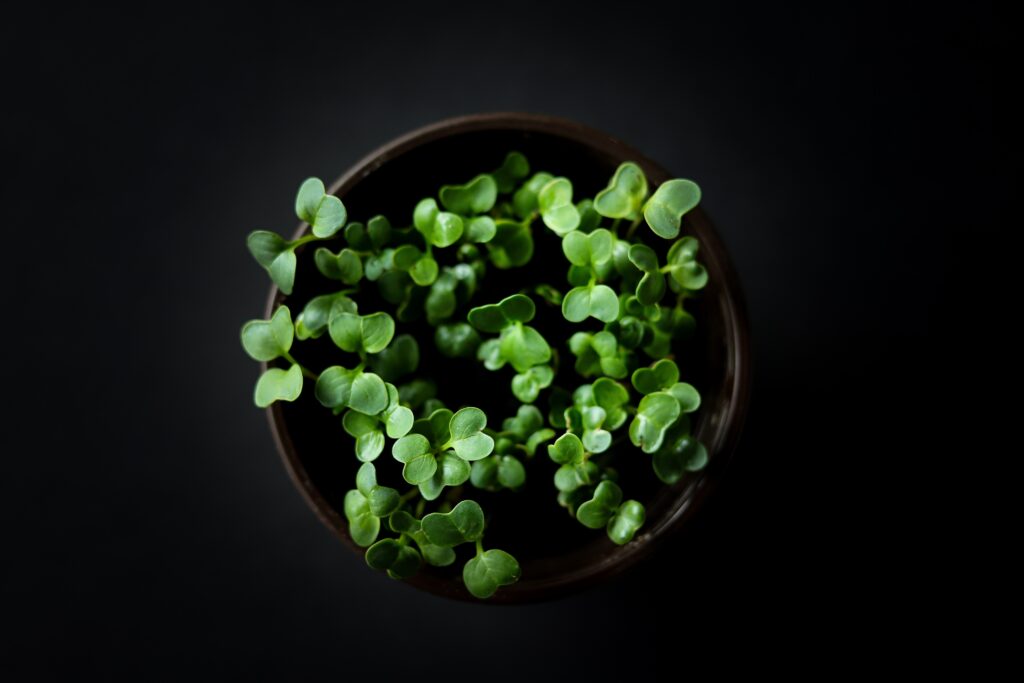
Microgreens are delicious, so nutritious and truly one of the easiest veggies you can grow yourself. I've gathered lots of information here including the best microgreens to grow yourself and a delicious recipe using pea, chard and sunflower micros. I hope you find this useful and interesting too.
Harvesting fresh and crisp greens at home instead of buying boxes of fast wilting baby greens in the grocery store is a small victory in the cold and gray of winter. Easily grown indoors on a windowsill or in a patio garden in spring and summer, this type of gardening is accessible to almost anyone.
Micro greens, herbs and veggies have the concentrated flavor of whichever seeds you plant, in delicate miniature form. Super carroty flavored greens, extra sweet and tender pea shoots or piquant essence of spicy radish. (Find this recipe at the bottom of the page.)
Jump to:
- Why grow them yourself
- Best equipment and lights
- What soil is best and do you need it
- List of popular micro and sprouting seeds
- Planting your own indoors
- How long do they take to grow
- Harvesting-how and when
- How to store
- Health and nutrients
- Sprouts vs microgreens
- How to use and prepare microgreens
- 📖 Recipe
- 💬 Community
Best equipment and lights
You only need 5 essential items to grow these yourself. A light source, a container or tray, soil or growing medium, seeds and water.
A sunny, south facing window is the easiest and most economical or you can get a small grow light from any good gardening shop.
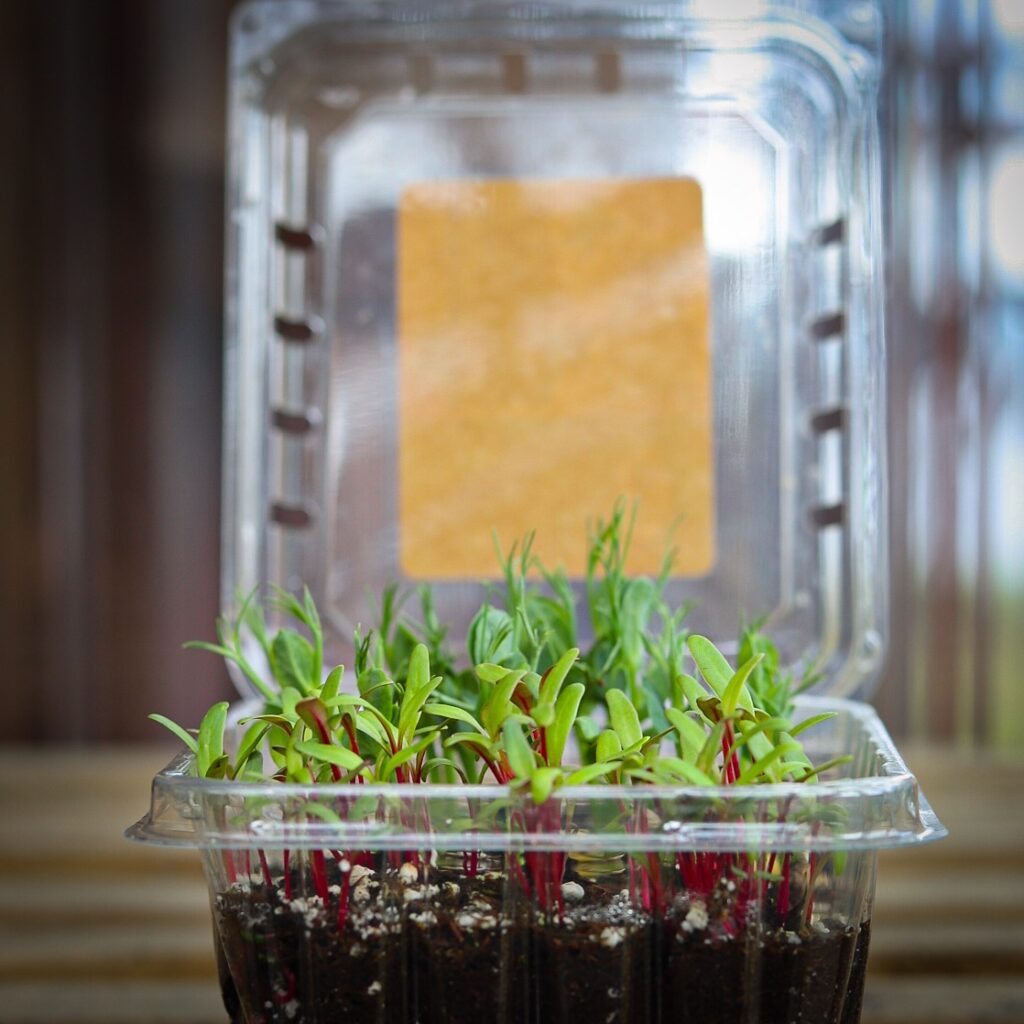
For your container, something low and wide with drainage holes is best. A plastic salad clamshell container, a seed starting tray or your favourite plant pot work just fine.
What soil is best and do you need it
While you could use almost any soil, a quality, sterilized soil is recommended especially if growing indoors. Outdoor soil generally has minute amounts of mold spores that can quickly grow and spread if it is brought into a warm and damp environment. Microgreens only need a small amount of soil to go past the sprout stage and get their first pair of true leaves. Good quality soil will give you optimum flavor too. Fill your container or tray with approximately 1-2 inches of sterilized soil or use a soil mat for best results
Can I grow microgreens without soil? Yes...but soil is best. Hydroponically growing microgreens is great if you are a commercial grower but for a home grower, it makes this a more expensive and complicated project. Other soil alternatives are coconut coir or growing mats. If you choose coir, you need to make sure you get the food growing grade and not a decorative grade. The decorative grade can be too salty or simply have the wrong balance of nutrients for this.
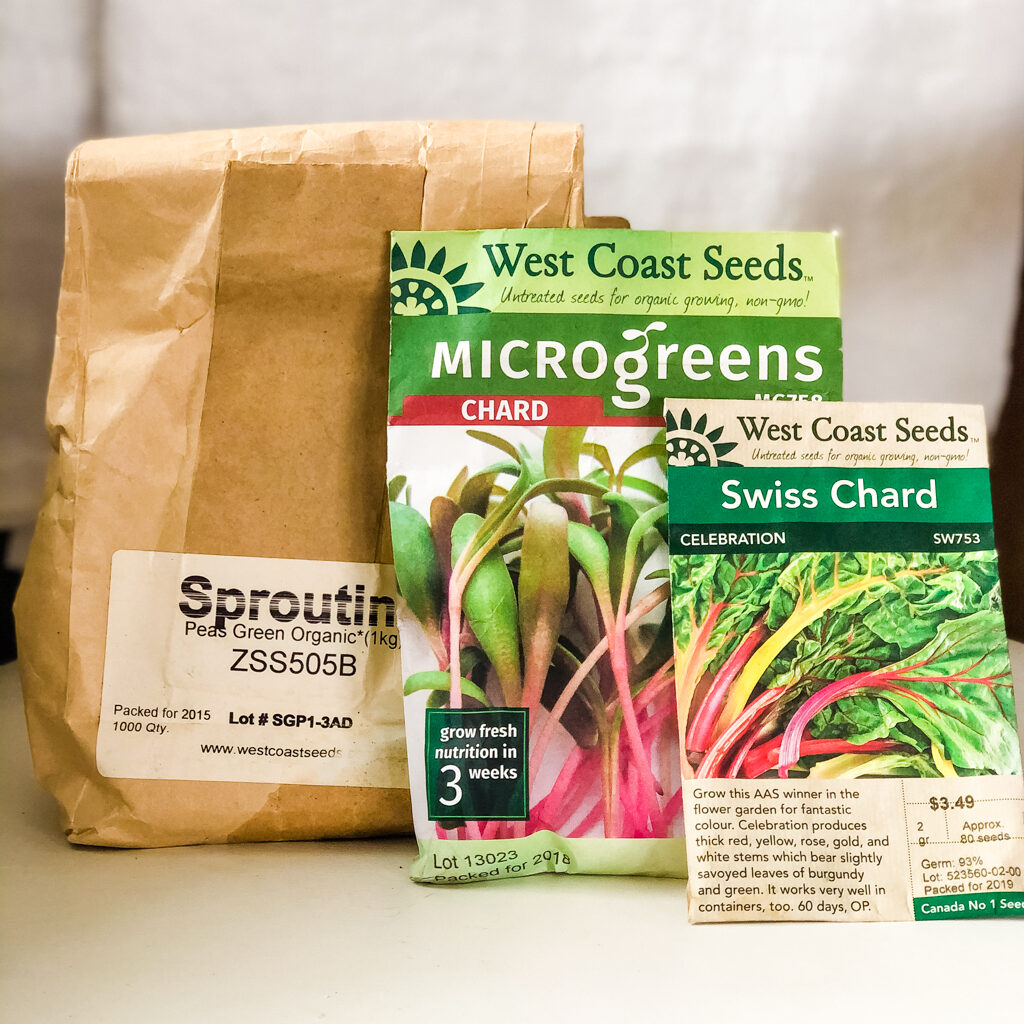
List of popular micro and sprouting seeds
Organic seeds are best as these will be eaten soon after sprouting. Select vegetable, grain, herb or edible flower seeds based on the vegetables you like to eat. Another way to choose is by using seeds that sprout quickly to help prevent mold or rot issues. One exception is the nightshade family. DO NOT use nightshades such as: tomato, eggplant, peppers or potatoes for microgreens. These are toxic. For more info on sprouting, check out Sprouting 101!
Some of my top choices are peas (sweet and mild) and radish (spicy) for their speed, size and mild sweet crispness. I choose chard (a more neutral taste) and beets (sweet and earthy) for their beautiful color, cress and mustard greens for their big bursts of spicy flavor. Herbs like cilantro, dill, and basil add really bright herbaceous notes to various ethnic dishes and salads. Flower seeds like sunflower (mild nutty flavor), nasturtium (peppery) and dandelion (a chicory flavor) are fairly quick to grow and are favorites of many.
Most important is simply to choose your seeds based on vegetables, herbs and flowers that you like the flavor of. Let me know below if you have a favorite!
- Alfalfa (fast)
- Barley
- Beets
- Broccoli and Cauliflower
- Buckwheat
- Carrot
- Chard (fast)
- Chia
- Corn (fast)
- Cucumber (fast)
- Dandelion and chicories
- Herbs-All kinds
- Lentils, Beans and Chickpeas
- Oats
- Quinoa
- Salad Greens-All kinds (some fast)
- Sunflower (fast)
- Nasturtium (fast)
- Peas (fast)
- Radish (fast)
- Squash and pumpkin (fast)
- Turnip
- Wasabi
- Wheatgrass
This is not an exhaustive list. If you choose a type not mentioned here, be sure be sure the microgreens are edible. Feel free to ask me questions below and I will do my best to answer them. Choosing seeds meant for microgreens or sprouting will ensure you get safe varieties and will get you a better deal on a large or bulk amount of seeds. You will need a lot more seeds for micro vegetables than if you were to grow them to full size.
Planting your own indoors
Densely sprinkle your seeds over the soil. You want only the smallest spaces between seeds. Cover just slightly, referring to your seed packet to find recommended amount of soil cover.
Water gently, a spray bottle works great so your seeds don't drift down a river of water and end up in clumps. Then cover loosely with plastic lid or wrap. Keep moist (but not soaking wet) by misting with a spray bottle daily. These don't need light until they have started to sprout.
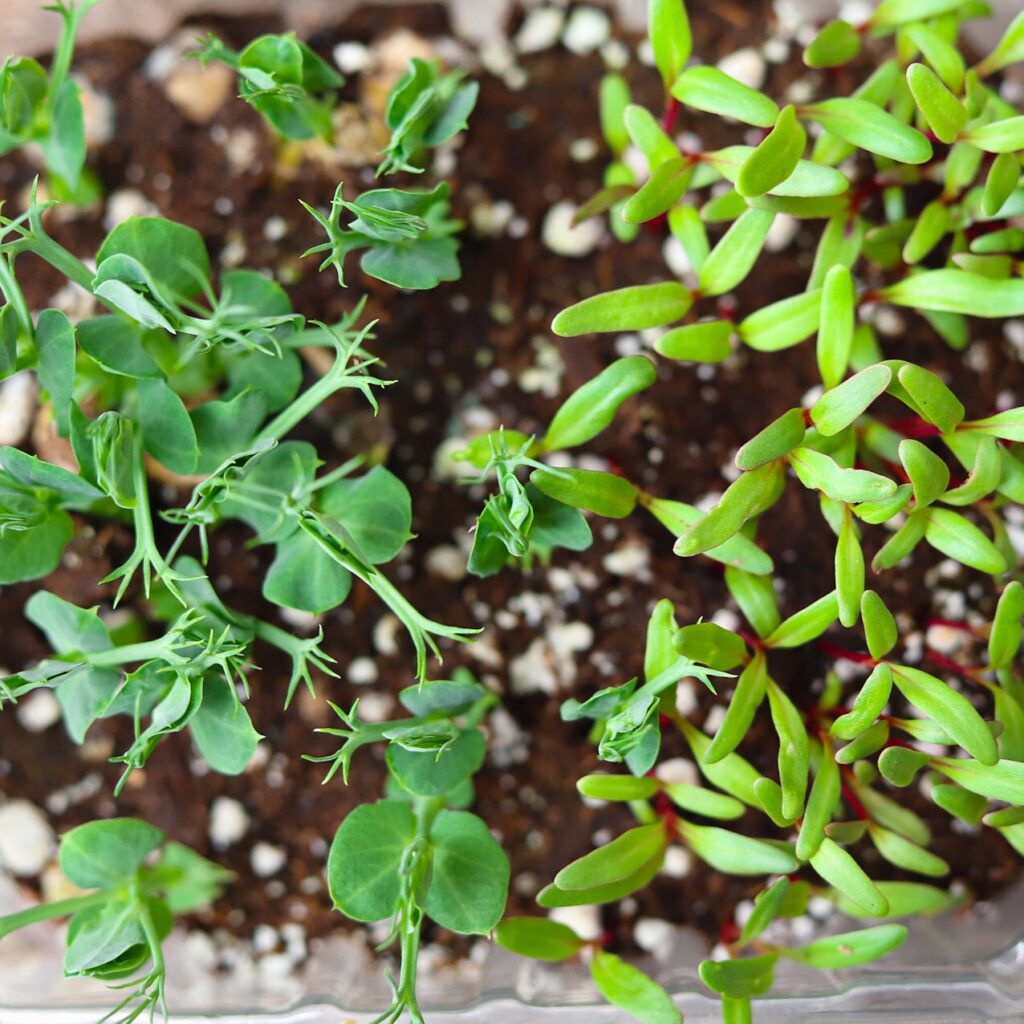
Once seedlings start to emerge, uncover and expose to sunlight from a window or a grow light during the day. Continue to keep lightly moistened with your spray bottle as they grow to desired size.
How long do they take to grow
It takes about 1-3 weeks to grow microgreens depending on seed type. Some seeds like peas, sunflower and radish are quite fast and often ready in a week to 10 days. Others like the brassica family (kale, broccoli, cauliflower and kohlrabi) take longer, varying from 2-3 weeks.
Choosing a seed variety that sprouts quickly will add to your success. I think it's amongst the easiest veggie gardening you can do. Leave me a comment below if you try and let me know what you think.
Harvesting-how and when
These are officially microgreens once they have their first true pair of leaves. They can be harvested at any time after that but ideally within 1-2 weeks of becoming microgreens. (If left longer, you can enjoy them as baby greens however because they are crowded without much soil, they won't grow much larger and will start to deteriorate.)
If you're wondering how to harvest microgreens, it's as simple as trimming them with a pair of kitchen shears above the soil level. But....
You can even eat the roots! If you like, pull up your micro vegetables, root and all, give a good wash and enjoy the whole little plant. It is important to gently wash your greens thoroughly before eating, especially if including the roots.
If you love growing your own food, I have some more articles. Check out the inside scoop on raising urban chickens here. Or read about how I dug up my grassy city lot and created my kitchen garden (one of my first blog posts ever!).
How to store
These delicate and flavourful greens should be stored in your fridge crisper once harvested. Cover loosely in a bowl or use a container with some holes like a reused berry container. You can add a paper towel in the bottom to help wick away any excess moisture. Then store the container in your crisper. Do not wash them before storing, it is best to wash them right before using.
Health and nutrients
Growing microgreens yourself at home means you can keep these little seedlings alive until you are ready to use them, maintaining peak freshness and vitamins.
Microgreens are generally more nutrient dense than the equal quantity of their mature vegetable counterparts and they come in a rainbow of colors making them as gorgeous as they are healthy.
Most are high in antioxidants, Vitamins C, E and K, beta carotene, copper, iron, lutein, magnesium, potassium, zinc. A general rule is to look at the nutrients in the mature vegetable as the micro vegetable. The nutrients will be the same in the micro vegetable but more concentrated. Micro greens are higher in fiber than sprouts.
WebMD.com says, "Researchers found microgreens like red cabbage, cilantro, and radish contain up to 40 times higher levels of vital nutrients than their mature counterparts."
Sprouts vs microgreens
One last note, many people ask what the difference between sprouts and microgreens is. Sprouts are grown with only water and don't require light. They are harvested when the seed sprouts and before it gets leaves. They won't really grow much more without the nutrients of soil and sun.
Microgreens are grown in soil and once sprouted, they are exposed to light and start to grow green leaves. They are harvested once they have their first true pair of leaves and are more flavor and nutrient dense.
How to use and prepare microgreens
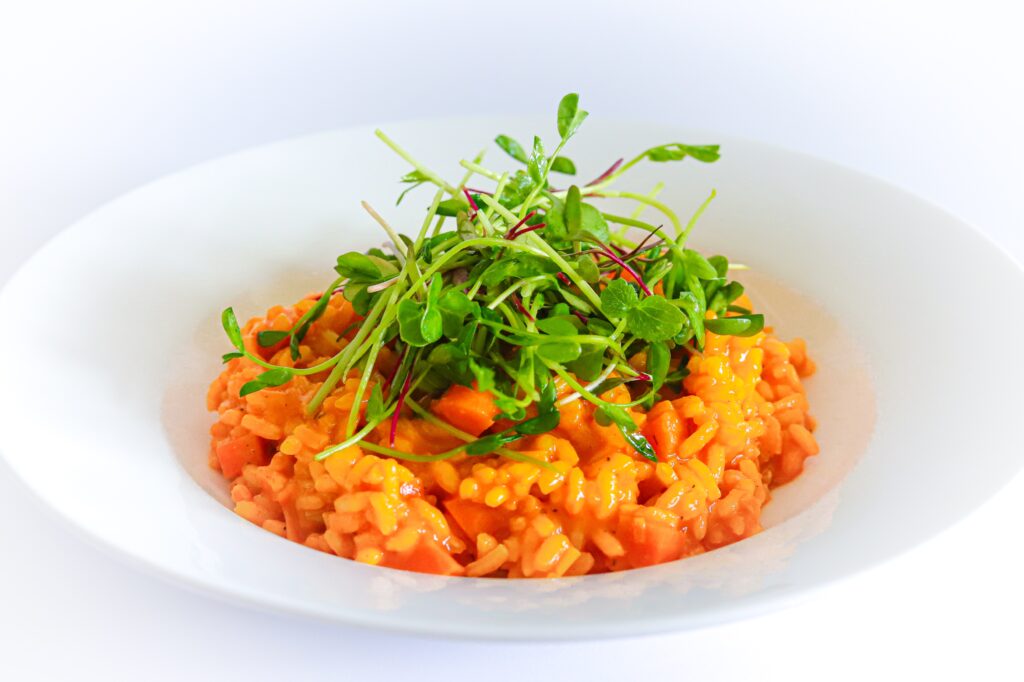
Here's the best and tastiest part. Eating them! These make punchy little crisp salads all by them selves or you can add them to lots of different recipes. Perfect raw in morning smoothies, juice (wheatgrass and more) pesto, sandwiches and salads. Cooked in risotto, soup and stir fry. Use them to add nutrients and garnish to just about anything including desserts!
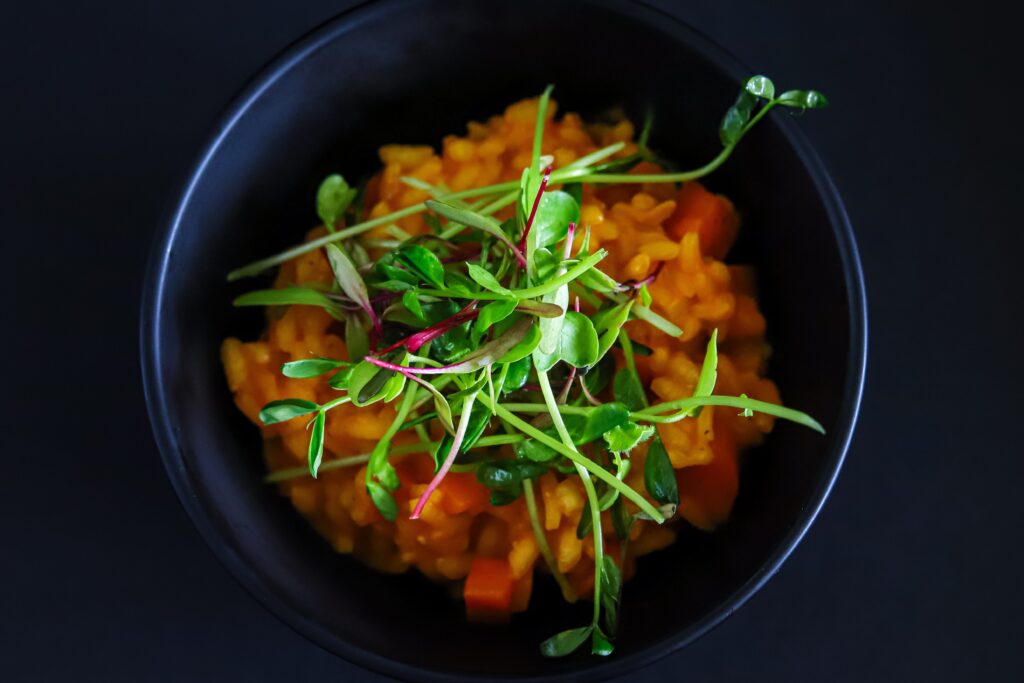
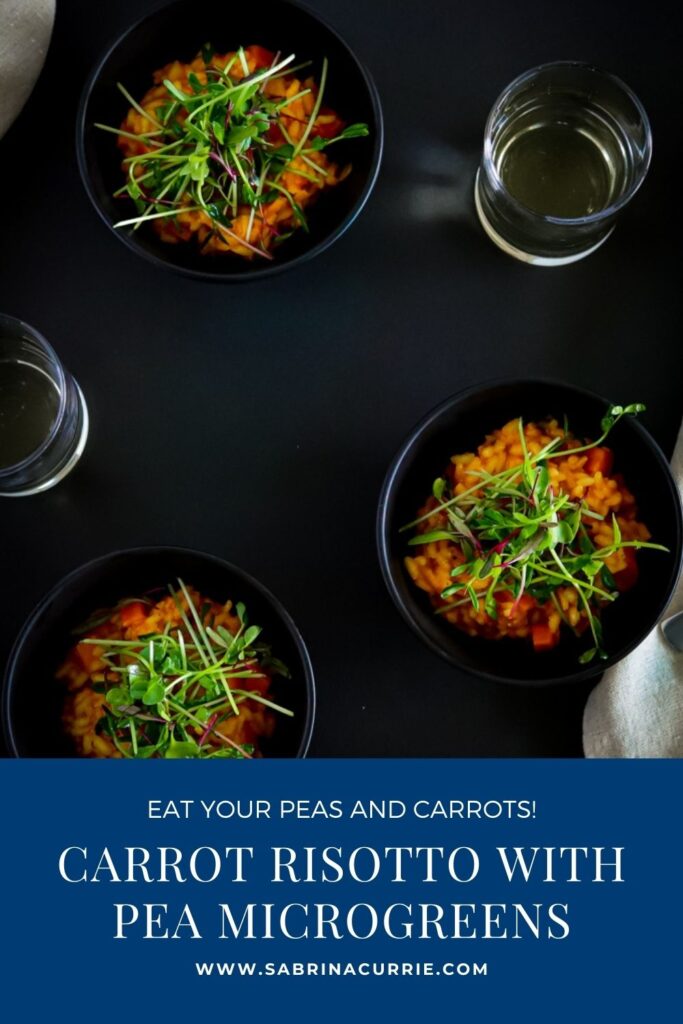
I've created a fun take on peas and carrots in this Carrot Risotto Recipe with a microgreen salad on top. I've used pea, chard and sunflower microgreens here, pea being the dominant flavor. Feel free to mix it up and top with whatever microgreens you are growing!

This is low commitment and high reward gardening! Growing micro greens makes a perfect project for kids and adults alike. Whether you want to grow them for a healthy food source or a science experiment, this is easy and fun. If you want to see the original article I wrote for Edible Vancouver Island magazine (a little less comprehensive), check it out here.)
ox Sabrina
📖 Recipe
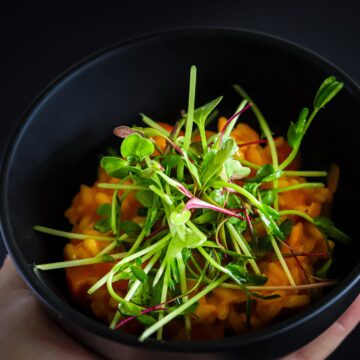
Carrot Risotto with Pea Microgreen Salad
Ingredients
Carrot Risotto with Carrot Microgreens
- 1 tablespoon Olive Oil
- 1 c Carrots diced ¼ "
- ½ c Leek white and light green parts only, diced ¼"
- Pinch Saffron
- 1 Bay Leaf
- 1.5 c Arborio Rice
- ¾ c Dry White Wine Unoaked
- 3 c Carrot Juice
- 3 c Chicken or Vegetable Broth heated
- 1 c Grated Parmesan 100 g
- 2 tablespoon Unsalted Butter
- Carrot Microgreens optional
- Sea Salt and Fresh Pepper to taste
Microgreen Salad Topping
- 1 tablespoon Champagne Vinegar
- 2 tablespoon Olive Oil
- ¼ teaspoon each, Salt and Sugar Fine sea salt and granulated sugar
- Fresh ground pepper to taste
- 2 c Mixed mild microgreens such as Pea, Chard, Beet or Sunflower gently washed and dried in a salad spinner or tea towel.
Instructions
Carrot Risotto
- In a large saucepan, heat oil on medium. Once hot, add carrots, leeks, saffron and bay leaf. Stir frequently until leeks are translucent and then stir in rice.
- After stirring rice for 1 minute, stir in wine and turn heat to medium-low until it is absorbed and evaporated. Then start alternating carrot juice and hot broth 1 cup at a time, stirring frequently and waiting until each cup is absorbed before adding more. This stirring process will create the creamy texture of the risotto and the carrot juice will form the sauce as it reduces.
- Test for doneness (al dente) after about 20-30 minutes, you may not need all the broth. (Rice should feel/taste cooked but not too mushy.) Cook longer if needed but it shouldn't need much longer than 30 minutes.
- Remove bay leaf, turn heat off and stir in parmesan and butter until melted. Season to taste with salt, pepper and carrot microgreens if using. Serve topped with Pea Microgreen Salad.

Microgreen Salad
- Mix vinegar, oil, salt, sugar and pepper together in a medium size bowl. Add microgreens, toss gently and pile on top of risotto to serve.


Jessica Formicola says
No more boring salads! I love microgreens, so I'd love to try growing my own! And this risotto looks so amazing!
SabCurrie says
Thanks and best of luck Jessica 🙂
Chef Dennis says
Wow! I am planning to grow my own. Thanks for sharing.
Natalie says
This salad looks stunning. What a dramatic plating. Love this!
SabCurrie says
Thank you so much Natalie!
Amélie Sutter says
Wow I just made this and it is SO good!
Sabrina Currie says
Thank you Amelie! That makes me so happy to hear. Bon appetite!