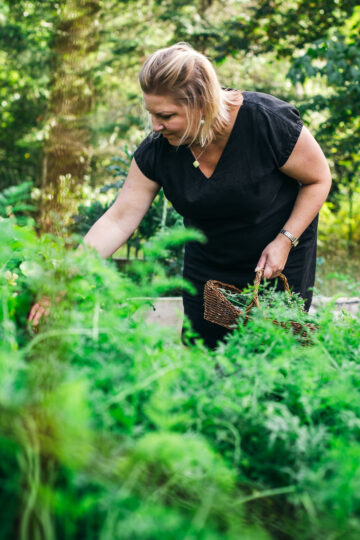
Think you don't have the space for a kitchen garden? Think again! I've got you with this Free 5-Step Quick Start Guide that will have you growing high-impact, summer-fresh ingredients in even the smallest sunny corners.
- No backyard? No problem.
- Harvest your first salad in just a few weeks.
- Maximize flavor with the best "easy-win" crops for small spaces.
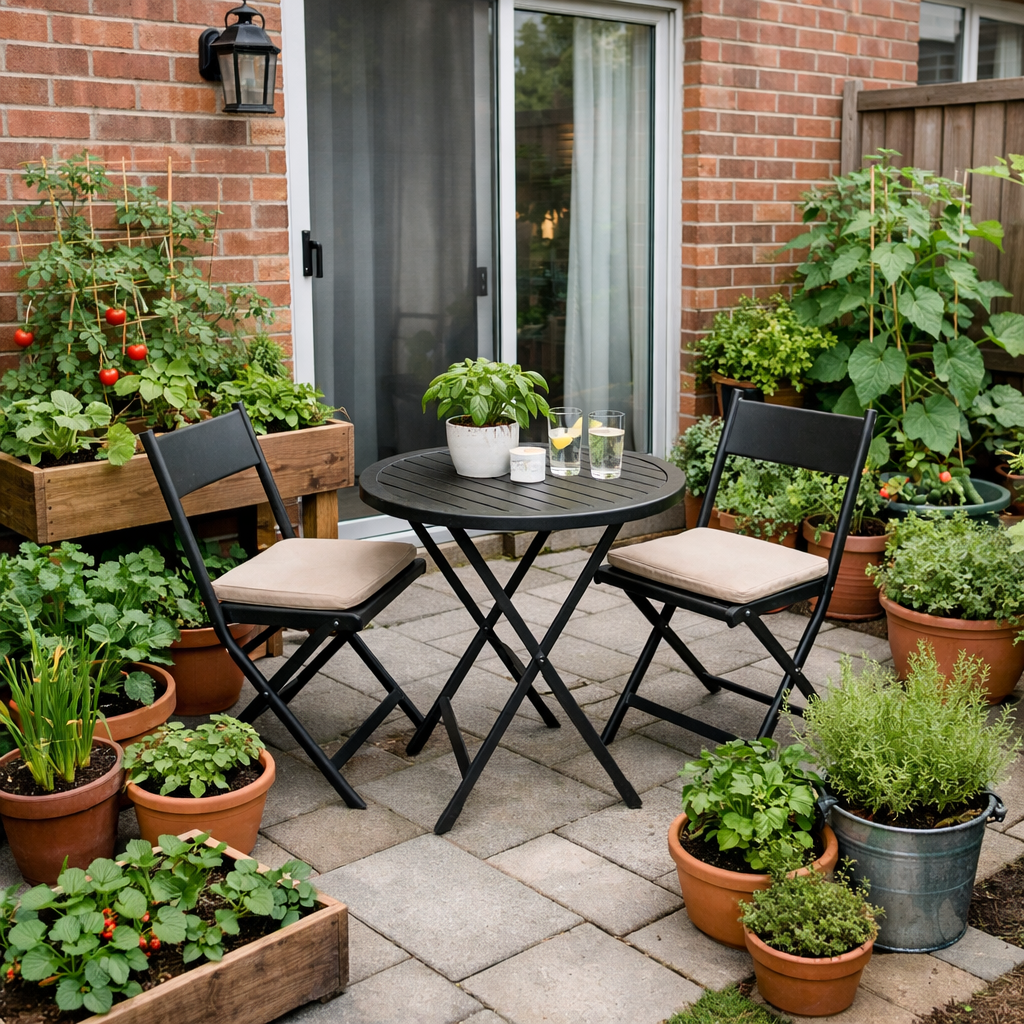
Creating a kitchen garden for small spaces is all about maximizing flavor and yield without needing a massive footprint. Here is a 5-step framework designed to take you from a bare balcony or patio to your first garden-to-table meal in about a month.
Jump to:
1. Choose Your Location
- The Sun: Most "fruiting" plants (tomatoes, peppers, cucumbers) need at least 6-8 hours of direct sun. If you only have 4 hours of sunlight or dappled light, opt for leaf and root crops like kale, spinach, and radishes.
- Wind: Check wind levels. High winds dry out pots very fast. If the only spot you have is quite windy, be prepared to water daily.
- Weight: If gardening on a balcony, check out your buildings weight restrictions before filling large, heavy ceramic planters. Using lightweight plastic container can help reduce weight and choose smaller pots if needed.
2. Choose Your Pots
Drainage: With small-space gardening, the container is the ecosystem. The number one requirement for a planting pot is drainage. To prevent rotting roots or mold forming, your pot needs drainage holes in the bottom. Store-bought planters almost always have these built in. If you are using your own plastic or wooden containers, you can drill small holes (¼"-½" diameter) around the bottom about 1"-2" in from the edge and about 2"-3" apart.
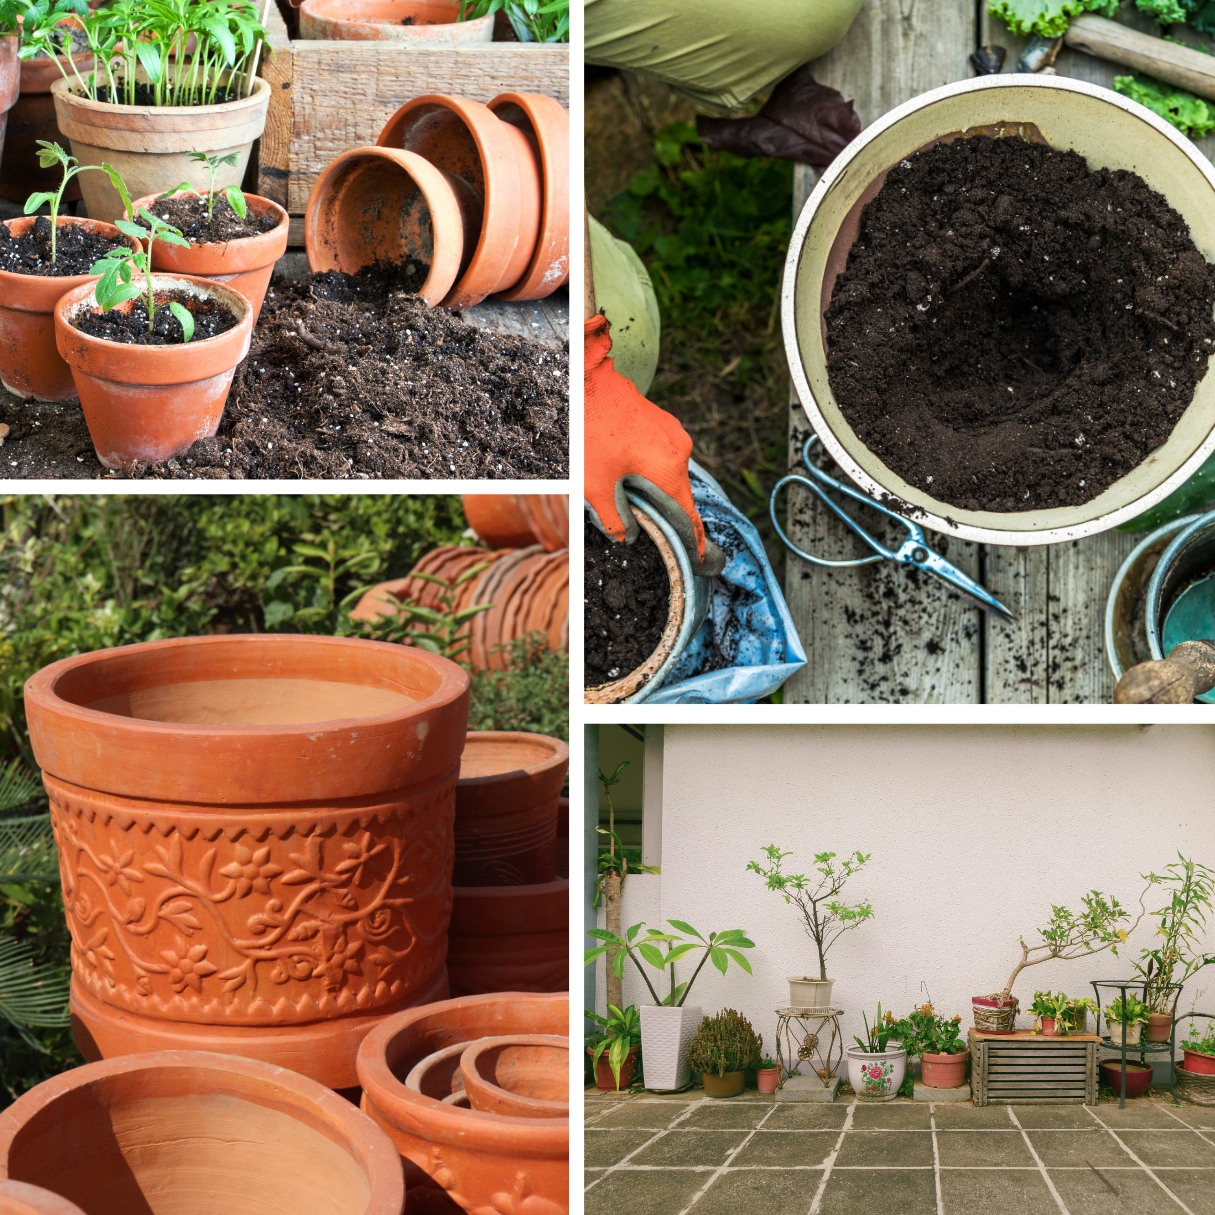
If you don't want your plants to drain onto your patio, deck or balcony, place a saucer or similar rimmed dish underneath to catch the drips. Gardening shops have various sizes of inexpensive plastic ones you can choose from. And some gardening pots come with one attached.
Size: A common mistake is using pots that are too small. For a tomato plant, you need at least a 5-gallon container. For salad greens or herbs, a shallow but wide pot or window box (6" deep) work perfectly. Root vegetable will need very deep containers. Beets and carrots will need soil with a depth of 1'-2' and potatoes need 2'-3'. For potatoes, you can use a deep pot or grow bag from a gardening center. Leafy greens and most herbs can be grown in more shallow pots, just remember, the smaller the pot, the more often you will need to water.
There are 3 reasons to use pots that are large enough: 1. To allow the roots to grow big and strong and prevent the plant becoming root bound (when roots strangle each other). 2. The more soil there is, the more nutrients there will be to feed the plant. 3. To help keep the soil from drying out too quickly.
Dirt: For best results, use a high-quality potting mix amended to ensure drainage and nutrition. Adding some compost to the mix is also helpful. Try not to use garden soil or dirt in containers because it is heavier and will compact over time which will impede good root growth.
3. Choose "Easy-Win" Crops
Focus on growing things you like eat and crops that are expensive at the store but easy to grow in the garden.
- Cut-and-Come-Again Greens: Varieties of lettuce and arugula allow you to harvest the outer leaves while the plant keeps growing, providing a continuous supply from one pot.
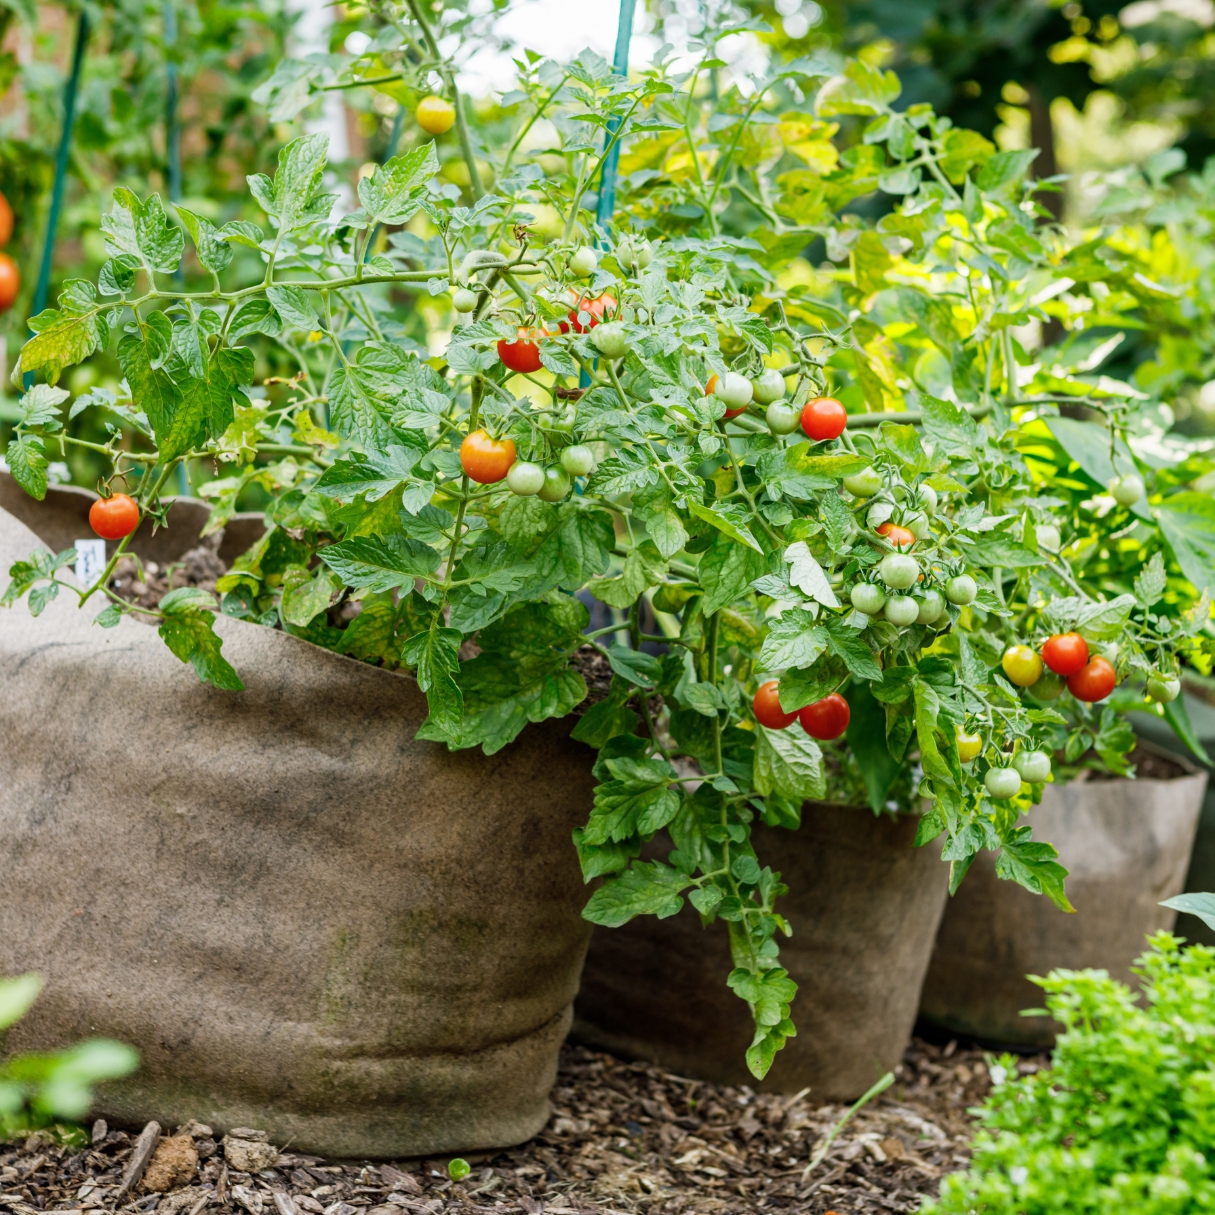
- Compact Varieties: Look for seeds or seedlings labeled "patio," "bush," or "determinate." These are bred to stay small while still producing full-sized harvests. You will find small varieties of tomatoes, cucumbers, zucchini and more.
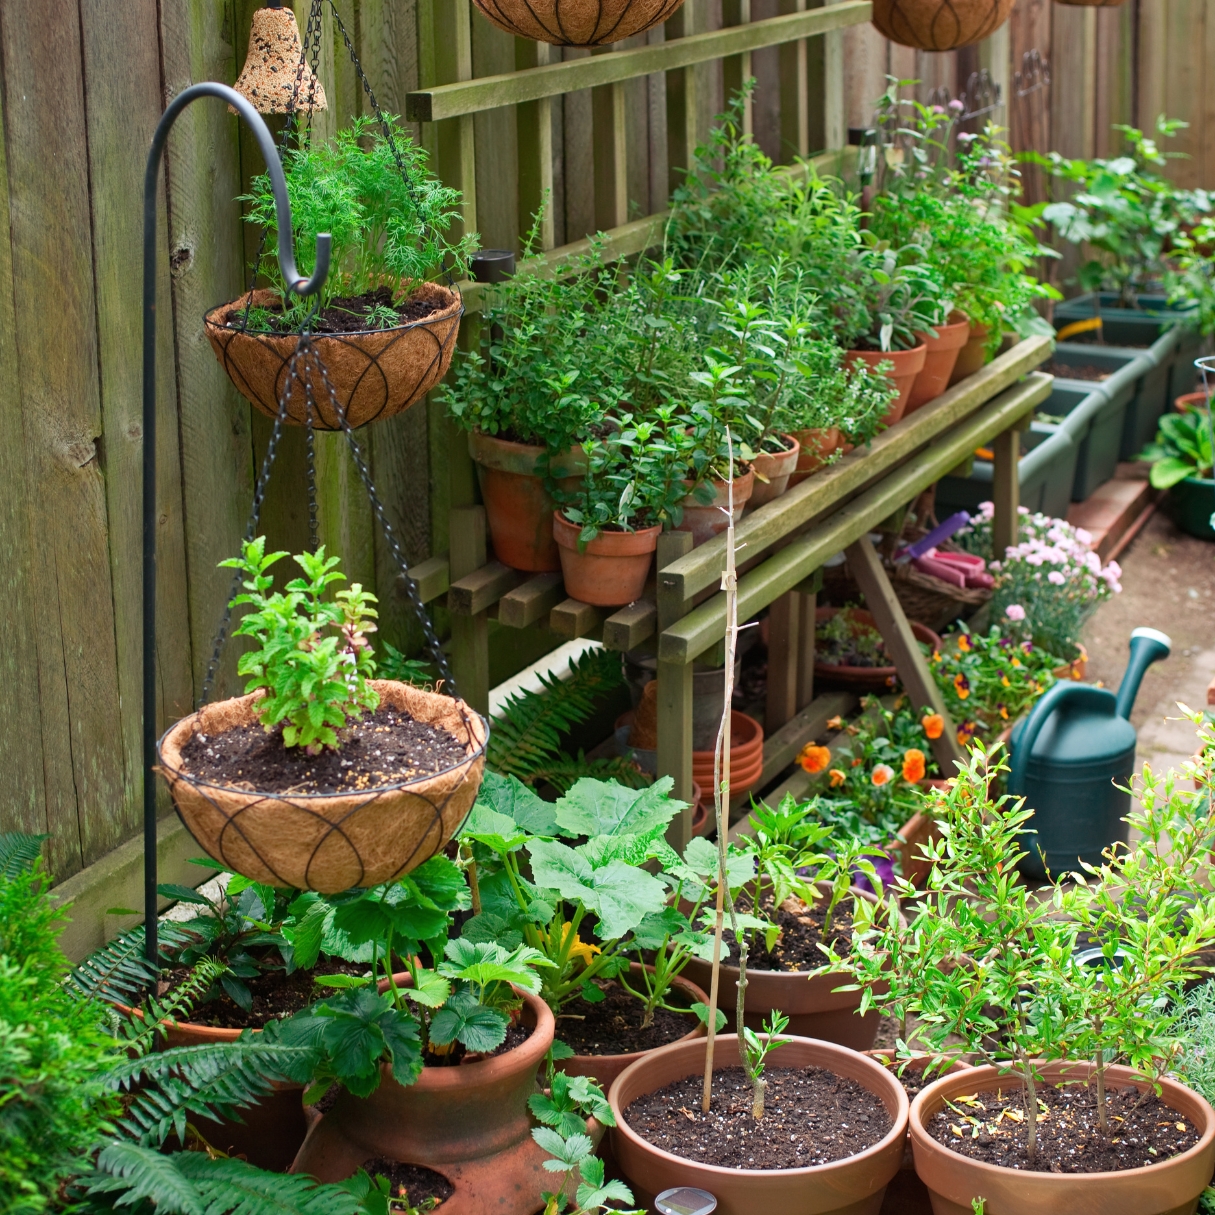
- My West Coast Favorites: I cook with a lot of herbs. Buying them all at the grocery store is expensive but they are so easy to grow yourself! Chives, basil, parsley, and cilantro are easy to grow from seed. Rosemary, sage, thyme and mint can be grown from seed but take longer and are easier to buy as seedlings but once you get them going, they will grow well into the fall and sometimes into or through winter if you live in a mild climate. Basil likes heat and sun but cilantro prefers a cooler spot so put it in a somewhat shady corner when the summer sun gets hot. The other herbs are a little less finicky about temperatures.
- Early Fast Growers: Cool-weather crops thrive in the early spring. Try sugar snap peas, radishes (ready in just 25 days), and small turnips that are the size of radishes.
Seeds Vs Seedlings
Some crops are easy and even preferable to plant from seed. Sunflowers, parsley, cilantro, peas, cucumber and zucchini will all sprout quickly and I recommend planting them from seed. Root vegetables like beets and carrots should also be planted from seed.
Other plants take a long time to sprout and/or mature so I recommend purchasing starters or seedlings. These include tomatoes, strawberries, tomatillos, lavender, rosemary and sage.
4. Planting
Planting Seeds (Herbs and Root Veggies)
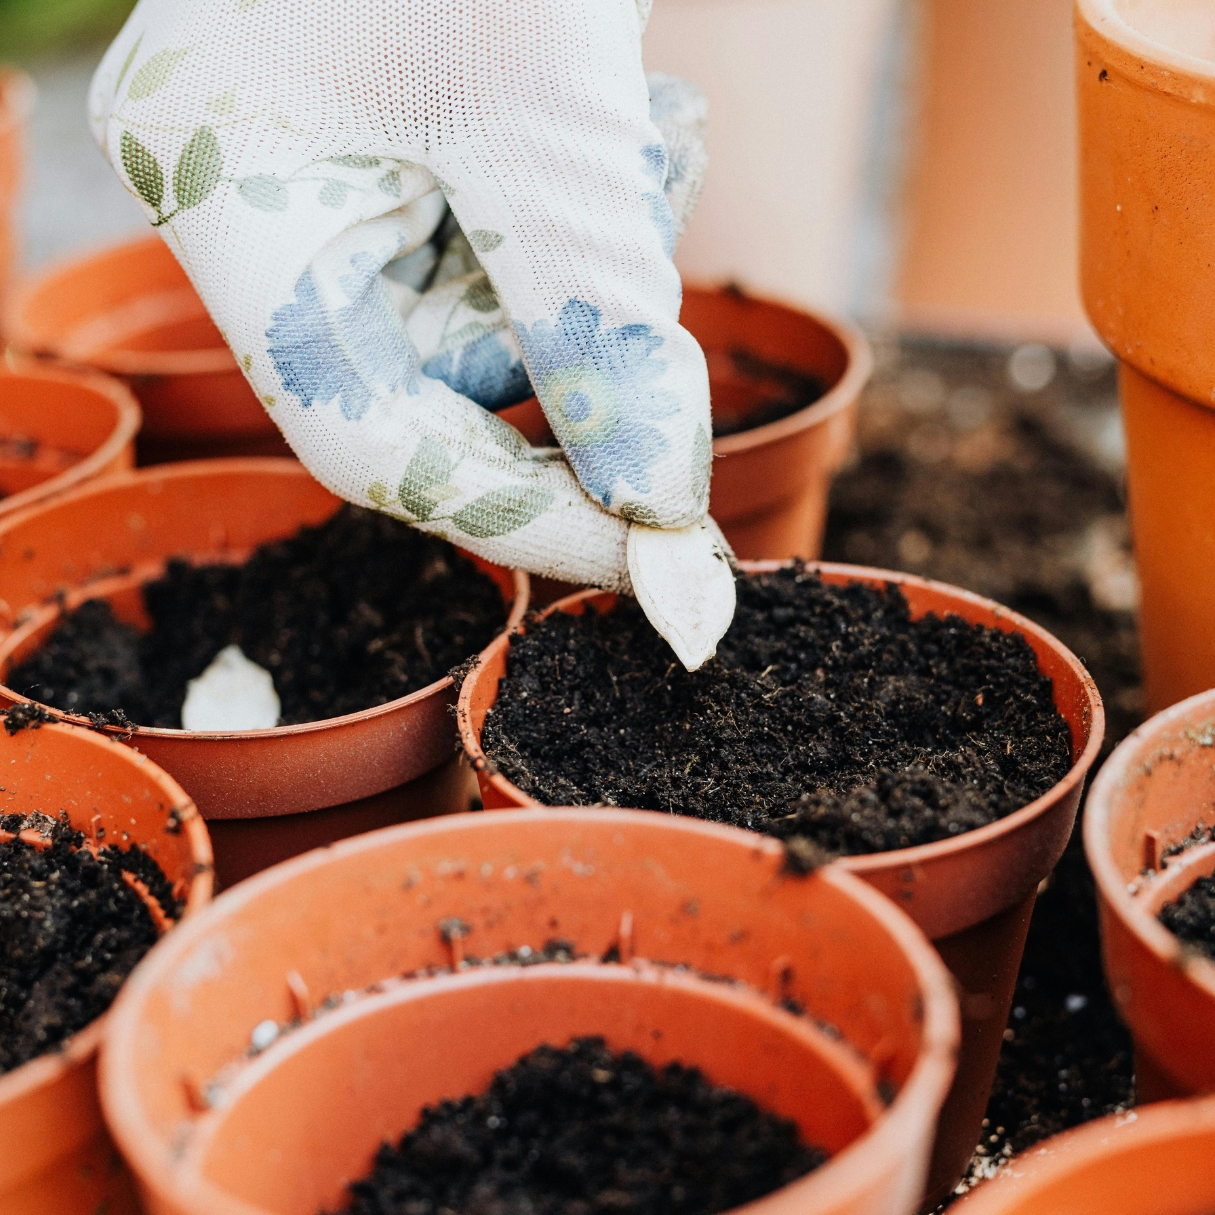
For easy-to-grow seeds like lettuce, radishes, or cilantro, start by smoothing the surface of your potting mix. Create shallow indentations based on the packet instructions-usually about twice as deep as the seed is wide. Space them an inch or two apart, drop the seeds in, and lightly sprinkle a thin layer of soil over the top. Gently pat the soil down to ensure the seeds have good contact with the earth, then mist the surface with a spray bottle so you don't wash the tiny seeds away.
Transplanting Seedlings (Tomatoes and Fruit)
When moving a young plant from a nursery pot into your container, first dig a hole in your new pot that is slightly larger than the current root ball. Gently squeeze the sides of the nursery plastic to loosen the plant, then tip it sideways into your hand, keeping the stem between your fingers. Place it in the hole so the soil level matches where it sat in the original pot. The exception is tomatoes-you can bury them deeper, up to the first set of leaves, to encourage a stronger root system along the stem.
Finishing and Initial Care
Once your seeds are sown or seedlings are settled, firm the soil around the base of the plants with your hands to remove any large air pockets. Water the container thoroughly until you see liquid trickling out of the drainage holes at the bottom; this "settles" the roots into their new home. Place a layer of mulch, like straw or wood chips, around the base of larger plants to help keep the moisture in, and keep your new garden in a sheltered, bright spot for a few days as they adjust to their new environment.
Trellis Tall + Climbing Plants
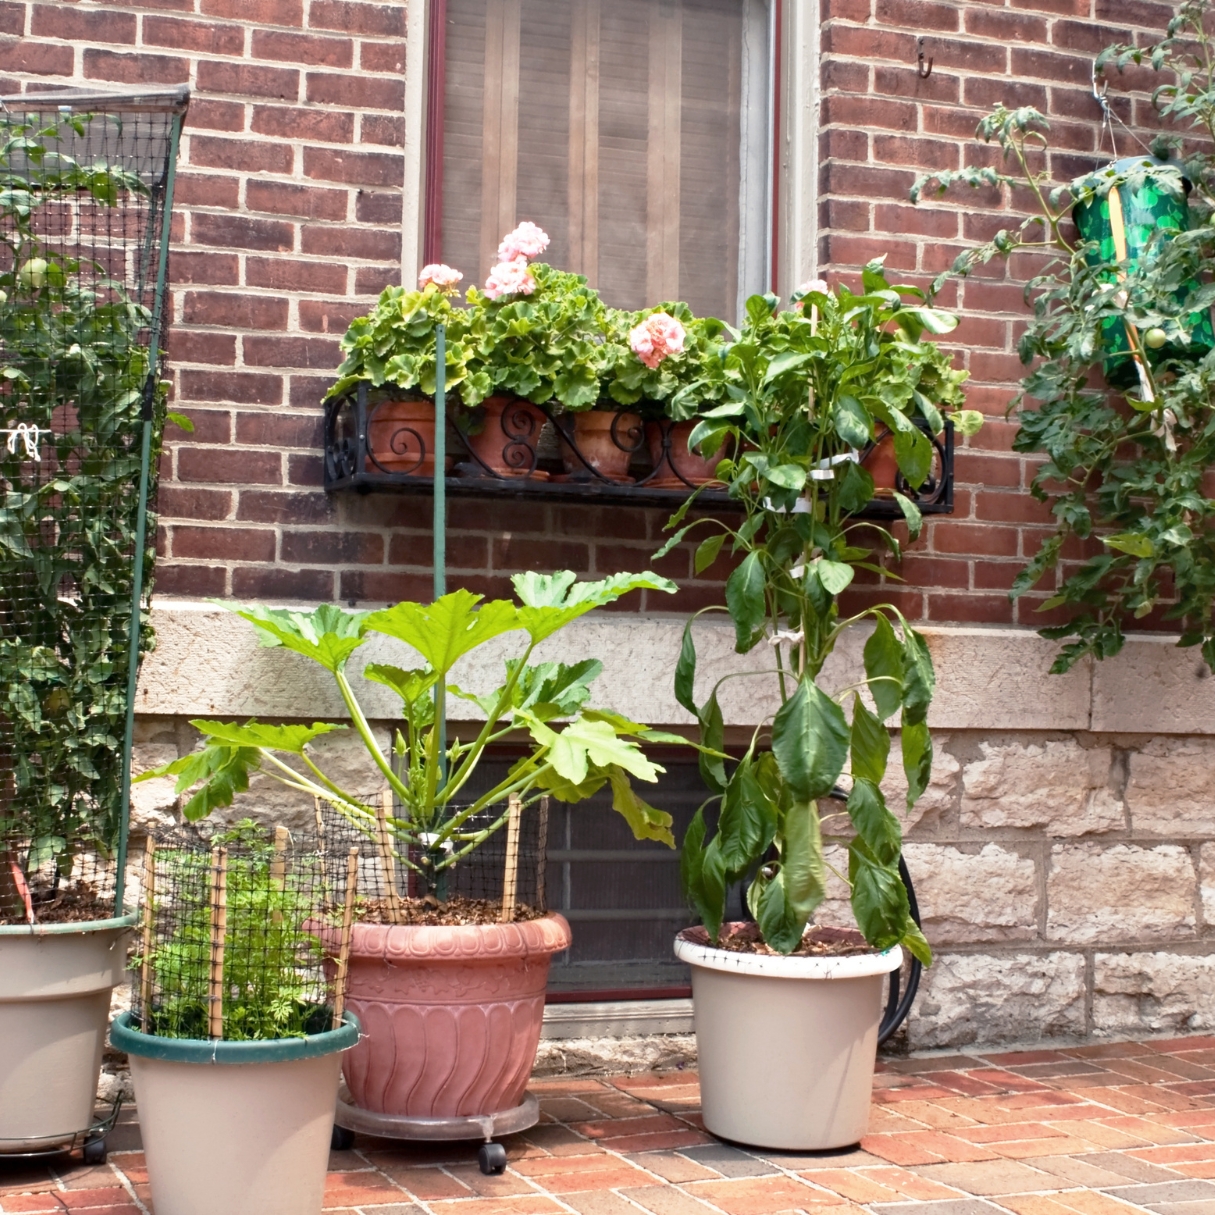
For vertical climbers like beans, peas, cucumbers, and zucchini, it is best to install your trellis or stakes at the moment of planting to avoid damaging the growing roots later on. Simply push the trellis firmly into the soil toward the back or center of the container, and as the vines grow, gently guide the tendrils toward the support; most will naturally grip and climb upward on their own. For tomatoes, place a circular cage over the seedling while it is still small, ensuring the legs are pushed all the way to the bottom of the pot for stability. As the tomato plant gets heavier with fruit, the cage will support the branches from all sides, keeping the harvest off the ground and allowing air to circulate, which prevents disease and makes picking much easier.
5. Maintenance and Harvest
Maintaining a container garden is all about consistency. Because pots have a limited amount of soil, they rely entirely on you for their "food" and "drink." Following these three simple rules will ensure your garden stays lush and productive through the entire season.
Hydration: Containers dry out much faster than garden beds. During the peak heat of summer, smaller pots may require watering twice a day-once in the early morning and again in the evening. A simple way to check is the "finger test": if the soil feels dry an inch below the surface, it's time to water thoroughly until you see it flowing out of the drainage holes at the bottom.
Liquid Gold: Frequent watering is necessary, but it also causes vital nutrients to wash out of the soil. To keep your plants thriving, supplement them with an organic liquid fertilizer, such as seaweed extract or fish emulsion, every two weeks. This "liquid gold" replaces lost minerals and ensures your vegetables and fruit have the energy to grow.
Prompt Harvesting: One of the best ways to keep your garden growing is to use it. Regularly picking your herbs and leafy greens "tells" the plant to keep producing new foliage. This consistent harvesting prevents the plants from "bolting" (going to seed), which can make leaves taste bitter, and ensures you always have the freshest ingredients ready for your kitchen.
Weekend Survival Tips
Going away for a few days doesn't have to mean coming home to wilted plants. Use these "vacation hacks" for short trips:
- The Grouping Method: Move all your pots together in a shaded spot. By grouping them, they create a small "micro-climate" of humidity, and being out of the direct sun slows down evaporation.
- The "Wine Bottle" Trick: Fill an empty wine or water bottle with water. Quickly flip it over and shove the neck deep into the soil of your thirstiest plant (like a tomato). The soil will slowly "wick" the water out as it dries.
- Mulch is Magic: Add a one-inch layer of straw, wood chips, or even grass clippings to the top of your pots. This acts as a blanket, keeping the soil cool and trapping moisture inside.
- Self-Watering Spikes: Consider inexpensive terracotta watering spikes. You set them in the pot with a bottle attached, and the porous clay slowly releases water directly to the roots over 2-3 days.
Starting your own container garden is a rewarding way to bring the freshness of the West Coast right to your doorstep. There is nothing quite like the satisfaction of stepping outside and snipping a handful of sun-warmed herbs or a crisp radish that you grew yourself. Even in a small space, you are creating a living pantry that connects you to the rhythm of the seasons.
To help you make the most of your harvest, I'll be sending over some of my favorite simple garden-to-table recipes in the coming weeks. If you're looking for even more inspiration on growing and eating through the seasons, you can find a deep dive into these topics in my cookbook, West Coast Kitchen Garden. It's designed to guide you through the joy of growing, gathering and preparing seasonal ingredients with ease.
I would love to hear about your progress! Comment below and let me know: What is the one thing you are most excited to grow in your containers this year?
Cheers, Sabrina